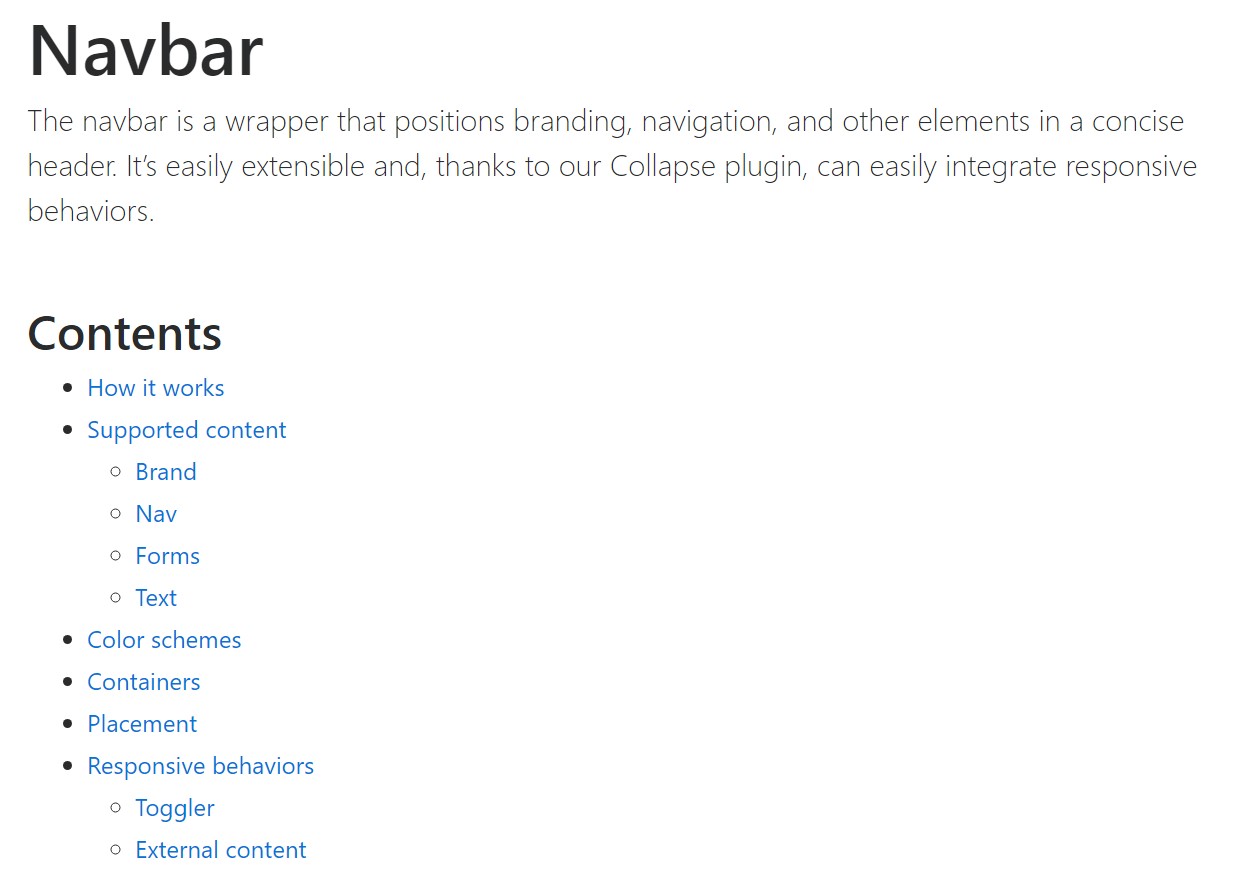
Bootstrap Navbar Toggle
Overview
Despite of how complex and well-thought web page structure we create, it does not concern notably if we fail to give the user a convenient and easy way accessing it and getting to the specific page needed quickly and with least efforts no matter the screen size of the device showing the site. When it goes to responsive behavior, the navbar can be set up to collapse under a specific screen width and a display horizontal depending on how it looks and user experience. Listed below is precisely how:
How to put into action the Bootstrap Navbar Active:
Here is simply the things you require to realise prior to starting along with the navbar:
- Navbars need a wrapping .navbar with .navbar-toggleable-* for responsive collapsing as well as color pattern classes.
- Navbars and their contents are certainly adjustable by default. Utilize optional containers to control their horizontal width.
- Navbars as well as their items are created utilizing flexbox, offering easy alignment solutions via utility classes.
- Navbars are responsive by default, though you have the ability to simply modify them to improve that. Responsive activity is dependent on Collapse JavaScript plugin.
- Provide convenience utilizing a <nav> component or, if applying a much more generic element just like a <div>, add a role="navigation" to each and every Bootstrap Navbar Collapse to explicitly recognize it like a turning point region for users of assistive technologies.
In case you wish the navbar to be hidden at a certain device width here also is the place to include a button component with the classes .navbar-toggler and
.hidden- ~ the final size you would want the navbar displayed inline ~ -up also adding the type="button" data-toggle="collapse" and data-target="# ~ the ID of the element storing the actual navbar content ~" - we'll get to this last one in just a moment. Since the flexible behavior it the essence of the Bootstrap framework we'll focus on producing responsive navbars since basically these are the ones we'll mostly require.
Statin details this way the next step in creating the navbar is making a <div> element to keep the entire navbar and its components and collapse at the demanded screen size-- assign it the .collapse class and .navbar-toggleable- ~ the largest screen size where you want it collapsed ~ for example - .navbar-toggleable-sm
In this element, you have the ability to optionally add a wrapper with the .navbar-brand to share certain information relating to the founder of the site and also the basic navbar part-- the one having the navigation structure of your site. It should be wrapped in an unordered list or <ul> carrying the .nav plus .navbar-nav classes. The <li> components in it need to be assigned the .nav-item class and the actual links inside them - .nav-link class.
One other thing to mention
A detail to keep in mind is that in the new Bootstrap 4 framework the ways of choicing the alignment of the navbar elements has been transformed a bit for various looks to be possibly referenced to different display sizes.
You may at last make a decision to include a simple form part inside your navbar-- typically just after the .nav element. To make it display appropriately you can utilize the positioning classes discussed above also assigning .form-inline to it. The .navbar-form class the forms required to carry in the previous version has been dropped in Bootsrtap 4.
Keep reading to get an example and selection of assisted sub-components.
Situations
Sustained material
Navbars included built-in service for a number of sub-components. Select from the following just as desired:
.navbar-brand for your item, project, as well as organization name.
.navbar-nav for a lightweight as well as full-height navigation ( providing support for dropdowns)..
.navbar-toggler for usage along with collapse plugin and additional site navigation toggling behaviours.
.form-inline for any sort of form controls as well as practices.
.navbar-text for adding vertically structured strings of message.
.collapse.navbar-collapse for grouping and disguising navbar materials through a parent breakpoint.
Here is certainly an instance of all the sub-components incorporated in a responsive light-themed navbar which promptly collapses at the md (medium) breakpoint.

<nav class="navbar navbar-toggleable-md navbar-light bg-faded">
  <button class="navbar-toggler navbar-toggler-right" type="button" data-toggle="collapse" data-target="#navbarSupportedContent" aria-controls="navbarSupportedContent" aria-expanded="false" aria-label="Toggle navigation">
    <span class="navbar-toggler-icon"></span>
  </button>
  <a class="navbar-brand" href="#">Navbar</a>

  <div class="collapse navbar-collapse" id="navbarSupportedContent">
    <ul class="navbar-nav mr-auto">
      <li class="nav-item active">
        <a class="nav-link" href="#">Home <span class="sr-only">(current)</span></a>
      </li>
      <li class="nav-item">
        <a class="nav-link" href="#">Link</a>
      </li>
      <li class="nav-item">
        <a class="nav-link disabled" href="#">Disabled</a>
      </li>
    </ul>
    <form class="form-inline my-2 my-lg-0">
      <input class="form-control mr-sm-2" type="text" placeholder="Search">
      <button class="btn btn-outline-success my-2 my-sm-0" type="submit">Search</button>
    </form>
  </div>
</nav>
Label
The .navbar-brand can possibly be put on a large number of features, and yet an anchor trainings best just as some features might actually call for utility classes or personalized designs.
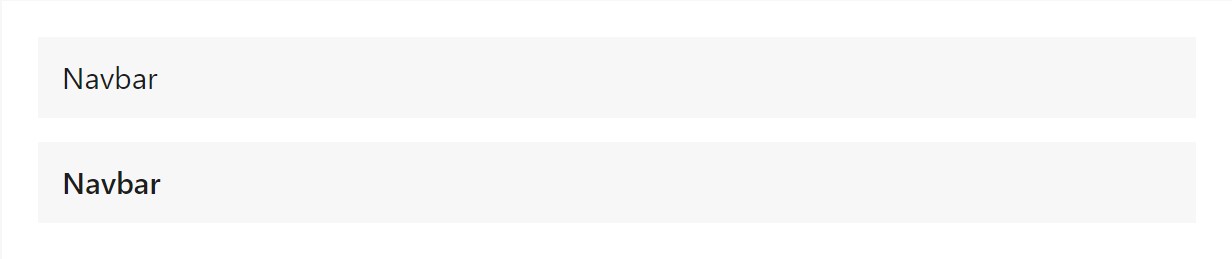
<!-- As a link -->
<nav class="navbar navbar-light bg-faded">
  <a class="navbar-brand" href="#">Navbar</a>
</nav>

<!-- As a heading -->
<nav class="navbar navbar-light bg-faded">
  <h1 class="navbar-brand mb-0">Navbar</h1>
</nav>
Providing images to the .navbar-brand are going to likely typically need custom made designs as well as utilities to correctly dimension. Below are several illustrations to indicate.

<!-- Just an image -->
<nav class="navbar navbar-light bg-faded">
  <a class="navbar-brand" href="#">
    <div class="img"><img src="/assets/brand/bootstrap-solid.svg" width="30" height="30" alt=""></div>
  </a>
</nav>
<!-- Image and text -->
<nav class="navbar navbar-light bg-faded">
  <a class="navbar-brand" href="#">
    <div class="img"><img src="/assets/brand/bootstrap-solid.svg" width="30" height="30" class="d-inline-block align-top" alt=""></div>
    Bootstrap
  </a>
</nav>
Nav
Navbar navigation hyperlinks improve .nav solutions with their own personal modifier class and call for utilize toggler classes for appropriate responsive designing . Site navigation in navbars will also progress to possess as much horizontal space as available to maintain your navbar contents completely coordinated.
Active forms-- with .active-- to indicate the recent web page can be used straight to .nav-link-s or their immediate parent .nav-item-s.

<nav class="navbar navbar-toggleable-md navbar-light bg-faded">
  <button class="navbar-toggler navbar-toggler-right" type="button" data-toggle="collapse" data-target="#navbarNav" aria-controls="navbarNav" aria-expanded="false" aria-label="Toggle navigation">
    <span class="navbar-toggler-icon"></span>
  </button>
  <a class="navbar-brand" href="#">Navbar</a>
  <div class="collapse navbar-collapse" id="navbarNav">
    <ul class="navbar-nav">
      <li class="nav-item active">
        <a class="nav-link" href="#">Home <span class="sr-only">(current)</span></a>
      </li>
      <li class="nav-item">
        <a class="nav-link" href="#">Features</a>
      </li>
      <li class="nav-item">
        <a class="nav-link" href="#">Pricing</a>
      </li>
      <li class="nav-item">
        <a class="nav-link disabled" href="#">Disabled</a>
      </li>
    </ul>
  </div>
</nav>
And due to the fact that we work with classes for our navs, you are able to avoid the list-based technique entirely if you prefer.

<nav class="navbar navbar-toggleable-md navbar-light bg-faded">
  <button class="navbar-toggler navbar-toggler-right" type="button" data-toggle="collapse" data-target="#navbarNavAltMarkup" aria-controls="navbarNavAltMarkup" aria-expanded="false" aria-label="Toggle navigation">
    <span class="navbar-toggler-icon"></span>
  </button>
  <a class="navbar-brand" href="#">Navbar</a>
  <div class="collapse navbar-collapse" id="navbarNavAltMarkup">
    <div class="navbar-nav">
      <a class="nav-item nav-link active" href="#">Home <span class="sr-only">(current)</span></a>
      <a class="nav-item nav-link" href="#">Features</a>
      <a class="nav-item nav-link" href="#">Pricing</a>
      <a class="nav-item nav-link disabled" href="#">Disabled</a>
    </div>
  </div>
</nav>
You can as well employ dropdowns in your navbar nav. Dropdown menus need a covering component for placing, in this way make certain to use nested and different components for .nav-item and .nav-link as shown below.

<nav class="navbar navbar-toggleable-md navbar-light bg-faded">
  <button class="navbar-toggler navbar-toggler-right" type="button" data-toggle="collapse" data-target="#navbarNavDropdown" aria-controls="navbarNavDropdown" aria-expanded="false" aria-label="Toggle navigation">
    <span class="navbar-toggler-icon"></span>
  </button>
  <a class="navbar-brand" href="#">Navbar</a>
  <div class="collapse navbar-collapse" id="navbarNavDropdown">
    <ul class="navbar-nav">
      <li class="nav-item active">
        <a class="nav-link" href="#">Home <span class="sr-only">(current)</span></a>
      </li>
      <li class="nav-item">
        <a class="nav-link" href="#">Features</a>
      </li>
      <li class="nav-item">
        <a class="nav-link" href="#">Pricing</a>
      </li>
      <li class="nav-item dropdown">
        <a class="nav-link dropdown-toggle" href="http://example.com" id="navbarDropdownMenuLink" data-toggle="dropdown" aria-haspopup="true" aria-expanded="false">
          Dropdown link
        </a>
        <div class="dropdown-menu" aria-labelledby="navbarDropdownMenuLink">
          <a class="dropdown-item" href="#">Action</a>
          <a class="dropdown-item" href="#">Another action</a>
          <a class="dropdown-item" href="#">Something else here</a>
        </div>
      </li>
    </ul>
  </div>
</nav>
Forms
Apply numerous form controls and elements in a navbar using .form-inline.

<nav class="navbar navbar-light bg-faded">
  <form class="form-inline">
    <input class="form-control mr-sm-2" type="text" placeholder="Search">
    <button class="btn btn-outline-success my-2 my-sm-0" type="submit">Search</button>
  </form>
</nav>
Straighten the contents of your inline forms with utilities like needed.

<nav class="navbar navbar-light bg-faded justify-content-between">
  <a class="navbar-brand">Navbar</a>
  <form class="form-inline">
    <input class="form-control mr-sm-2" type="text" placeholder="Search">
    <button class="btn btn-outline-success my-2 my-sm-0" type="submit">Search</button>
  </form>
</nav>
Input groups operate, as well:

<nav class="navbar navbar-light bg-faded">
  <form class="form-inline">
    <div class="input-group">
      <span class="input-group-addon" id="basic-addon1">@</span>
      <input type="text" class="form-control" placeholder="Username" aria-describedby="basic-addon1">
    </div>
  </form>
</nav>
A variety of buttons are sustained like part of these navbar forms, as well. This is additionally a great tip that vertical positioning utilities may be used to adjust several sized features.

<nav class="navbar navbar-light bg-faded">
  <form class="form-inline">
    <button class="btn btn-outline-success" type="button">Main button</button>
    <button class="btn btn-sm align-middle btn-outline-secondary" type="button">Smaller button</button>
  </form>
</nav>
Content
Navbars may possibly include pieces of text message through .navbar-text. This class regulates vertical position and horizontal spacing for strings of message.

<nav class="navbar navbar-light bg-faded">
  <span class="navbar-text">
    Navbar text with an inline element
  </span>
</nav>
Combine and matchup with other components and utilities like required.

<nav class="navbar navbar-toggleable-md navbar-light bg-faded">
  <button class="navbar-toggler navbar-toggler-right" type="button" data-toggle="collapse" data-target="#navbarText" aria-controls="navbarText" aria-expanded="false" aria-label="Toggle navigation">
    <span class="navbar-toggler-icon"></span>
  </button>
  <a class="navbar-brand" href="#">Navbar w/ text</a>
  <div class="collapse navbar-collapse" id="navbarText">
    <ul class="navbar-nav mr-auto">
      <li class="nav-item active">
        <a class="nav-link" href="#">Home <span class="sr-only">(current)</span></a>
      </li>
      <li class="nav-item">
        <a class="nav-link" href="#">Features</a>
      </li>
      <li class="nav-item">
        <a class="nav-link" href="#">Pricing</a>
      </li>
    </ul>
    <span class="navbar-text">
      Navbar text with an inline element
    </span>
  </div>
</nav>
Coloration
Theming the navbar has certainly never been truly easier because of the combination of theming classes and background-color utilities. Pick from .navbar-light for use with light background colors , or .navbar-inverse for dark background color options. After that, modify with .bg-* utilities.
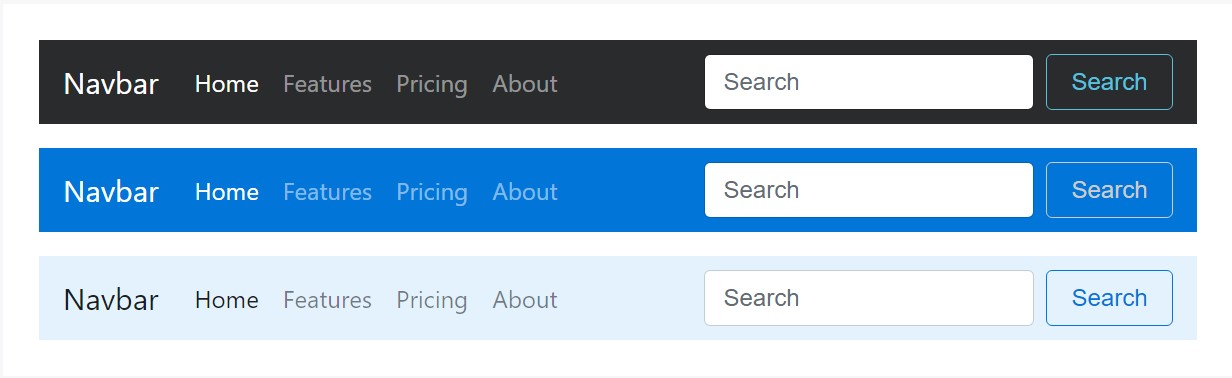
<nav class="navbar navbar-inverse bg-inverse">
  <!-- Navbar content -->
</nav>

<nav class="navbar navbar-inverse bg-primary">
  <!-- Navbar content -->
</nav>

<nav class="navbar navbar-light" style="background-color: #e3f2fd;">
  <!-- Navbar content -->
</nav>
Containers
Despite the fact that it is simply not needed, you can surely wrap a navbar in a .container to center it on a webpage or else incorporate one just within to only centralize the materials of a corrected or static top navbar.

<div class="container">
  <nav class="navbar navbar-toggleable-md navbar-light bg-faded">
    <a class="navbar-brand" href="#">Navbar</a>
  </nav>
</div>
In the event that the container is inside your navbar, its horizontal padding is taken away at breakpoints below your pointed out
.navbar-toggleable-* class. This ensures we are definitely not doubling up on padding completely on lower viewports when your navbar is collapsed.

<nav class="navbar navbar-toggleable-md navbar-light bg-faded">
  <div class="container">
    <a class="navbar-brand" href="#">Navbar</a>
  </div>
</nav>
Location
Employ arrangement utilities to put navbars within non-static settings. Choose fixed to the top, attached to the bottom, or stickied to the top . Keep in mind that position: sticky, taken for .sticky-top, isn't entirely carried in every web browser.

<nav class="navbar navbar-light bg-faded">
  <a class="navbar-brand" href="#">Full width</a>
</nav>
<nav class="navbar fixed-top navbar-light bg-faded">
  <a class="navbar-brand" href="#">Fixed top</a>
</nav>
<nav class="navbar fixed-bottom navbar-light bg-faded">
  <a class="navbar-brand" href="#">Fixed bottom</a>
</nav>
<nav class="navbar sticky-top navbar-light bg-faded">
  <a class="navbar-brand" href="#">Sticky top</a>
</nav>
Responsive practices
Navbars can utilize .navbar-toggler, .navbar-collapse, and .navbar-toggleable-* classes to alter whenever their material collapses behind a button . In combination with other utilities, you are able to efficiently select when to present or hide particular features.
Toggler
Navbar togglers may possibly be left or right lined up having .navbar-toggler-left or else .navbar-toggler-right modifiers. These are completely set up just within the navbar to avoid intrusion with the collapsed state. You have the ability to in addition work with your very own designs to arrange togglers. Below are illustrations of various toggle styles.
Without .navbar-brand shown in lowest breakpoint:

<nav class="navbar navbar-toggleable-md navbar-light bg-faded">
  <button class="navbar-toggler" type="button" data-toggle="collapse" data-target="#navbarTogglerDemo01" aria-controls="navbarTogglerDemo01" aria-expanded="false" aria-label="Toggle navigation">
    <span class="navbar-toggler-icon"></span>
  </button>
  <div class="collapse navbar-collapse" id="navbarTogglerDemo01">
    <a class="navbar-brand" href="#">Hidden brand</a>
    <ul class="navbar-nav mr-auto mt-2 mt-lg-0">
      <li class="nav-item active">
        <a class="nav-link" href="#">Home <span class="sr-only">(current)</span></a>
      </li>
      <li class="nav-item">
        <a class="nav-link" href="#">Link</a>
      </li>
      <li class="nav-item">
        <a class="nav-link disabled" href="#">Disabled</a>
      </li>
    </ul>
    <form class="form-inline my-2 my-lg-0">
      <input class="form-control mr-sm-2" type="text" placeholder="Search">
      <button class="btn btn-outline-success my-2 my-sm-0" type="submit">Search</button>
    </form>
  </div>
</nav>
Together with a brand shown on the left and toggler on the right:

<nav class="navbar navbar-toggleable-md navbar-light bg-faded">
  <button class="navbar-toggler navbar-toggler-right" type="button" data-toggle="collapse" data-target="#navbarTogglerDemo02" aria-controls="navbarTogglerDemo02" aria-expanded="false" aria-label="Toggle navigation">
    <span class="navbar-toggler-icon"></span>
  </button>
  <a class="navbar-brand" href="#">Navbar</a>

  <div class="collapse navbar-collapse" id="navbarTogglerDemo02">
    <ul class="navbar-nav mr-auto mt-2 mt-md-0">
      <li class="nav-item active">
        <a class="nav-link" href="#">Home <span class="sr-only">(current)</span></a>
      </li>
      <li class="nav-item">
        <a class="nav-link" href="#">Link</a>
      </li>
      <li class="nav-item">
        <a class="nav-link disabled" href="#">Disabled</a>
      </li>
    </ul>
    <form class="form-inline my-2 my-lg-0">
      <input class="form-control mr-sm-2" type="text" placeholder="Search">
      <button class="btn btn-outline-success my-2 my-sm-0" type="submit">Search</button>
    </form>
  </div>
</nav>
Additional material
In certain cases you wish to utilize the collapse plugin in order to activate hidden subject somewhere else on the webpage. Considering that plugin works on the id and data-target matching, that is without a doubt conveniently carried out!

<div class="pos-f-t">
  <div class="collapse" id="navbarToggleExternalContent">
    <div class="bg-inverse p-4">
      <h4 class="text-white">Collapsed content</h4>
      <span class="text-muted">Toggleable via the navbar brand.</span>
    </div>
  </div>
  <nav class="navbar navbar-inverse bg-inverse">
    <button class="navbar-toggler" type="button" data-toggle="collapse" data-target="#navbarToggleExternalContent" aria-controls="navbarToggleExternalContent" aria-expanded="false" aria-label="Toggle navigation">
      <span class="navbar-toggler-icon"></span>
    </button>
  </nav>
</div>
Conclusions
So essentially these are the way a navbar should be constructed in Bootstrap 4 and the new neat modifications arriving with the newest version. What's up to you is considering cool page system and content.
Take a look at a number of video tutorials regarding Bootstrap Navbar:
Linked topics:
Bootstrap Navbar official documents
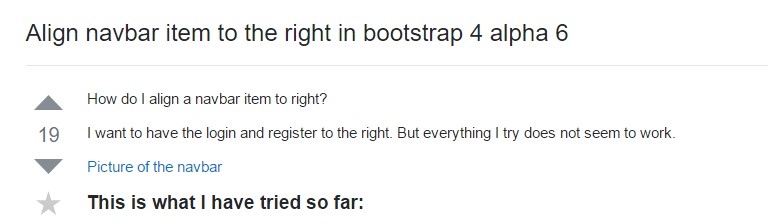
Coordinate navbar item to the right inside Bootstrap 4 alpha 6
Bootstrap Responsive menu within Mobirise
Mobile Bootstrap Toggle Menu Demos
HTML5 Bootstrap Nav Menu Templates