Bootstrap Radio Set
Overview
Occasionally the little items occur to be really the super fundamental since the entire image is in reality a whole being composed of a lot of very small information finished and compiled if you want to showcase and check like a well-oiled shiny machine. These spicy phrases might just look a little bit too much whenever it comes down to make controls yet in the case that you just consider about it for a little there is only a single component enabling the website visitor to pick up one among a few available opportunities. Therefore if you are actually possessing some forms through this form of options controls over your different websites does this suggest they will all look equivalent?And most significantly-- would you agree to that?
Luckily for us the current edition of ultimate well-known mobile phone friendly framework - Bootstrap 4 comes fully loaded with a bright new approach to the responsive behavior of the Bootstrap Radio Toggle regulations and what exactly is bright new for this version-- the so called custom form commands-- a palette of predefined looks you can absolutely simply involve and operate for you to put in the so preferred nowadays assortment in the visual presentations of pretty boring form elements. So let's check out how the radio buttons are aimed to be specified and styled in Bootstrap 4.
The ways to apply the Bootstrap radio button:
For you to design a radio switch we first need to have a <div> element to wrap it into by the .form-check or else .form-check-inline added. The 1st class will attach the Bootstrap Radio Style a block appeal and the second will coordinate the element inline along with eventually a few more others like it. These are truly new classes for Bootstrap 4-- in the former versions they used to be specified as .radio and .radio-inline. On the occasion that you wish the radio button to arrive on webpage but to become disabled for clicking-- ensure that you have certainly as well added the .disabled class here.
In the .form-check element we should certainly primarily put in a <label> along with the .form-check-label class selected and inside it an <input> plus the .form-check-input class and some attributes added like type = “radio”, name = “ ~ same name for all the options ~ ” in the event that you feature a handful of radio buttons defining a few options a site visitor need to pick up from they should have the similar name yet different special id = “ ~ unique ID ~ “ attribute and a value=” ~some value here ~ ” attribute. At last in case that you are actually intending to disable the control -- as well provide the disabled attribute to the <input> element.
This is additionally the area to characterize in the case that you desire the radio control to primarily load like checked as soon as the webpage gets loaded. In case this is what you are actually looking for-- as opposed to disabled add in the checked attribute to the <input>. Supposing that you happen to on purpose or else accidentally bring in a few radio buttons along with the checked attribute-- the last one read is going to be additionally the one featuring as looked at web page load.
Checkbox plus Bootstrap Radio Set good examples
Bootstrap's .button styles can possibly be put on other elements, including <label>- s, to generate checkbox or radio style button toggling. Add data-toggle=" buttons" to .btn-group having those modified buttons to allow toggling in their relevant styles. The checked state for these buttons is only updated via click event on the button.
Bear in mind that pre-checked buttons need you to manually provide the .active class to the input's <label>.
Checkbox

<div class="btn-group" data-toggle="buttons">
  <label class="btn btn-primary active">
    <input type="checkbox" checked autocomplete="off"> Checkbox 1 (pre-checked)
  </label>
  <label class="btn btn-primary">
    <input type="checkbox" autocomplete="off"> Checkbox 2
  </label>
  <label class="btn btn-primary">
    <input type="checkbox" autocomplete="off"> Checkbox 3
  </label>
</div>
Radio

<div class="btn-group" data-toggle="buttons">
  <label class="btn btn-primary active">
    <input type="radio" name="options" id="option1" autocomplete="off" checked> Radio 1 (preselected)
  </label>
  <label class="btn btn-primary">
    <input type="radio" name="options" id="option2" autocomplete="off"> Radio 2
  </label>
  <label class="btn btn-primary">
    <input type="radio" name="options" id="option3" autocomplete="off"> Radio 3
  </label>
</div>
Radio button possibility
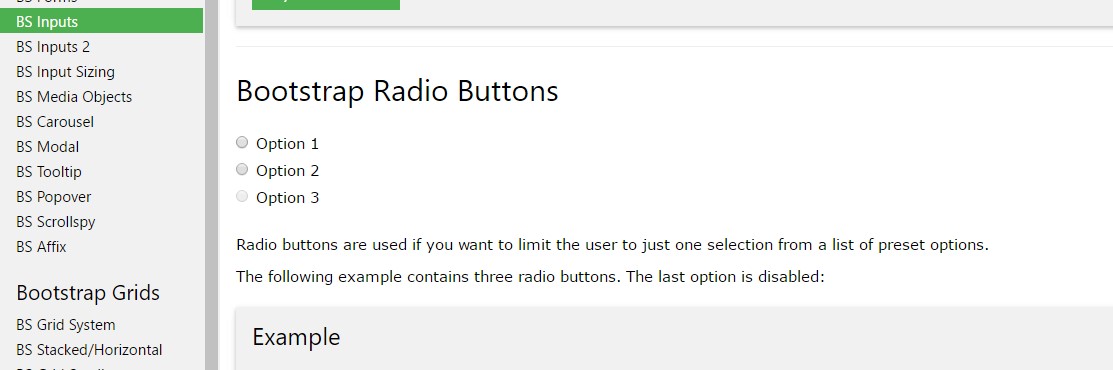
We can surely use input features of the radio form if we wish the user to go for just one of a variety of opportunities.
If there is more than just a single feature of this particular type through the similar value in the name attribute, only one may be selected.

<div class="row">
  <div class="col-lg-6">
    <div class="input-group">
      <span class="input-group-addon">
        <input type="checkbox" aria-label="Checkbox for following text input">
      </span>
      <input type="text" class="form-control" aria-label="Text input with checkbox">
    </div>
  </div>
  <div class="col-lg-6">
    <div class="input-group">
      <span class="input-group-addon">
        <input type="radio" aria-label="Radio button for following text input">
      </span>
      <input type="text" class="form-control" aria-label="Text input with radio button">
    </div>
  </div>
</div>
Conclusions
Basically this is the strategy the default radio tabs get defined and work throughout within Bootstrap 4-- in a moment all you need are certain options for the users to select from.
Examine several online video training about Bootstrap Radio Button:
Related topics:
Bootstrap buttons authoritative records
Bootstrap Radio button - training
Checkbox radio buttons break entire toolbar styling
